Dell vProtect 19.18 Installation Package for Hypervisor Support
VM 생성
원하는 OS 이미지 파일 업로드
TYPE = ISO
VM 생성
최소 사양
CPU = 4
Memory = 8 GB
Disk 설정
CD-ROM disk 수정
위에서 추가했던 이미지 파일로 선택
Operation -> Clone from Image Service 선택
Capacity용 disk 추가
200GB - 1TB 사이에서 조정
백업 시 데이터 스테이징을 위한 용량
네트워크 어댑터 설정
Save 클릭
VM 전원 켜기
VM 선택 후 Power on 클릭
VM 접속
Launch Console 클릭
OS 배포 완료
os 정보
vProtect 패키지 파일 준비
vProtect 패키지 파일 업로드
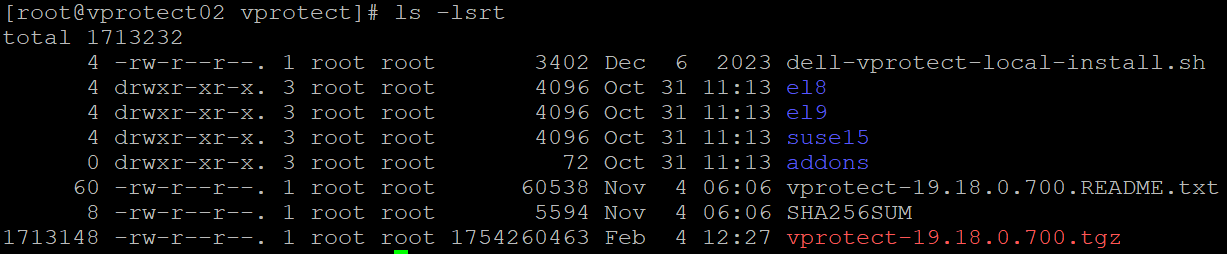
vprotect-19.18.0.700.tgz
압축 해제
tar -xvf vprotect-19.18.0.700.tgz
파일 내용
dell-vprotect-local-install.sh
el8
el9
suse15
addons
vprotect-19.18.0.700.README.txt
SHA256SUM
vProtect 패키지 설치
README 텍스트 파일 확인
cat vprotect-19.18.0.700.README.txt | grep -A 22 Installation
(install 부분만 확인)
Installation
1. Install CentOS or RHEL 7/8/9 minimal with 4 GB of RAM and 2 vCPUs and some storage for staging space and optionally a backup destination
- use first disk for operating system
- add a secondary disk, i.e. 200GB - 1 TB (depending on the size your VMs that you want to backup)
- leave it empty, you'll initialize this space later
2. Log in as root over SSH to your machine, where you want to install it
3. RHEL 8 requires active subscription
4. Download vProtect package from Dell EMC FTP
5. Extract this package on the host where you're installing it:
tar xvf vprotect-XXX.tgz
6. Move extracted repository to temp directory.
mv elX /root/vprotect-repo
7. As root run
./dell-vprotect-local-install.sh
With a proper repo url (this can be changed with VPROTECT_REPO environment variable) – by default repo URL points to local
directory file:///root/vprotect-repo.
Now you should be able to login to vProtect Server using https://IP_OF_YOUR_MACHINE with local node registered and running.
By default vProtect has one admin account - admin with password vPr0tect (with zero).