

위로
아래
vProtect
vProtect
Nutanix 위에 VM 형태로 배포
파일 준비
vProtect 파일 다운로드


압축 해제


README.txt 파일 확인
하단에 install 방법 적혀 있다
Installation

1. Install CentOS or RHEL 7/8/9 minimal with 4 GB of RAM and 2 vCPUs and some storage for staging space and optionally a backup destination
	- use first disk for operating system
	- add a secondary disk, i.e. 200GB - 1 TB (depending on the size your VMs that you want to backup)
	- leave it empty, you'll initialize this space later
2. Log in as root over SSH to your machine, where you want to install it
3. RHEL 8 requires active subscription
4. Download vProtect package from Dell EMC FTP
5. Extract this package on the host where you're installing it:
tar xvf vprotect-XXX.tgz

6. Move extracted repository to temp directory.
mv elX /root/vprotect-repo

7. As root run
./dell-vprotect-local-install.sh

With a proper repo url (this can be changed with VPROTECT_REPO environment variable) – by default repo URL points to local
directory file:///root/vprotect-repo.

Now you should be able to log in to vProtect Server using https://IP_OF_YOUR_MACHINE with local node registered and running.
By default vProtect has one admin account - admin with password vPr0tect (with zero).
번역
1. 최소 4GB RAM과 2개의 vCPU, 스테이징 공간을 위한 스토리지, 선택적으로 백업 대상을 갖춘 CentOS 또는 RHEL 7/8/9를 설치합니다.
- 운영 체제에 첫 번째 디스크를 사용합니다.
- 보조 디스크(예: 200GB - 1TB)를 추가합니다(백업하려는 VM의 크기에 따라 다름).
- 비워 둡니다. 나중에 이 공간을 초기화합니다.
2. 설치하려는 머신에 SSH를 통해 루트로 로그인합니다.
3. RHEL 8에는 활성 구독이 필요합니다.
4. Dell EMC FTP에서 vProtect 패키지를 다운로드합니다.
5. 설치하려는 호스트에서 이 패키지를 추출합니다. tar xvf vprotect-XXX.tgz
6. 추출된 리포지토리를 임시 디렉토리로 이동합니다. mv elX /root/vprotect-repo
7. 루트로 실행 ./dell-vprotect-local-install.sh
적절한 repo url(VPROTECT_REPO 환경 변수로 변경 가능) - 기본적으로 repo URL은 로컬
디렉토리 file:///root/vprotect-repo를 가리킴.
이제 https://IP_OF_YOUR_MACHINE을 사용하여 로컬 노드가 등록되고 실행 중인 vProtect Server에 로그인할 수 있어야 합니다.
기본적으로 vProtect에는 관리자 계정이 하나 있습니다. admin과 비밀번호 vPr0tect(0)입니다.
ova 파일 압축 해제 (반디집으로 풀면 가능)


이 중 cbc35a4b-4e40-4703-b137-2846651f5e80 사용
VM 생성
이미지 파일 업로드
Image Type으로 DISK 선택
cbc35a4b-4e40-4703-b137-2846651f5e80 파일 업로드

VM 생성

최소 사양
- CPU : 4
- RAM : 8 GB

Disk 추가
위에서 생성한 이미지 파일 선택

VM 전원 켜기


vProtect 배포 확인
vProtect 접속
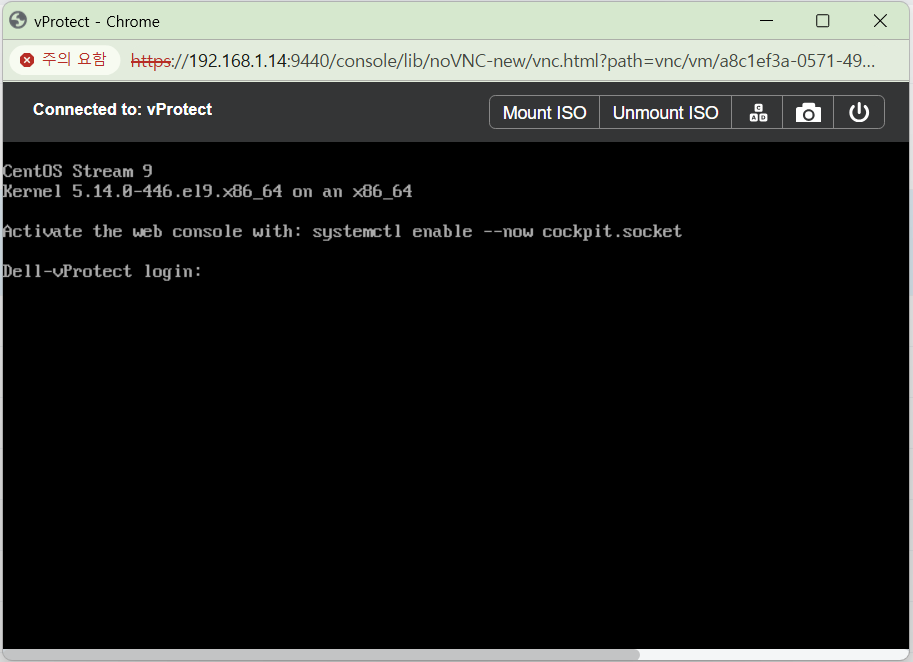
Default Password
User : root
Passwd : vPr0tect
OS 정보

CentOS 9로 배포되어 있다
vProtect 서비스 확인
systemctl status vprotect-server

systemctl status vprotect-node

vProtect 초기 세팅
vProtect 서비스 끄기
systemctl stop vprotect-server
systemctl stop vprotect-node

hostname 변경

네트워크 세팅
nmtui

Edit a connection 선택

enp1s0 선택

IPv4 CONFIGUATION을 Manual로 변경 후 Show 선택

ip 입력 후 OK 선택
한 단계 나가서 Activate a connection 선택
